The Kenmore 385 sewing machine is a versatile appliance designed for both beginners and experienced sewists. This manual provides comprehensive guidance on operation, maintenance, and troubleshooting, ensuring optimal performance and longevity of your machine; By following the instructions, you can master various sewing techniques, understand safety precautions, and make the most of its features.
1.1 Overview of the Kenmore 385 Model
The Kenmore 385 sewing machine is a versatile and reliable appliance designed for a wide range of sewing tasks. It offers multiple stitch options, durability, and ease of use, making it suitable for both beginners and experienced sewists. Available in various models, such as the 385.12612090 and 385.17622, this machine is supported by detailed manuals that guide users through operation, maintenance, and troubleshooting. The manual ensures optimal performance and longevity of the machine.
1.2 Importance of Reading the Manual
Reading the manual for the Kenmore 385 sewing machine is crucial for safe and effective operation. It provides detailed instructions for setup, maintenance, and troubleshooting, ensuring optimal performance. The manual helps users understand safety precautions, proper threading techniques, and how to handle common issues. By following the guidelines, users can avoid damage to the machine and enhance their sewing experience. Taking the time to read the manual maximizes the machine’s potential and prevents unnecessary frustrations.
1.3 Basic Features of the Kenmore 385
The Kenmore 385 sewing machine features a durable mechanical design, offering 23 built-in stitch patterns for versatility. It includes a free-arm option for sewing cuffs and sleeves, and an automatic needle threader for convenience. The machine has adjustable stitch length and width, allowing customization for various fabrics. Its heavy-duty metal frame ensures stability, while the easy-to-use controls make it suitable for both beginners and experienced sewists. These features provide a reliable sewing experience.
Safety Precautions and Guidelines
Always keep the work area clean and well-lit. Avoid loose clothing or jewelry that could get caught. Ensure proper ventilation and supervise children nearby. Use the correct tools and follow manual guidelines to prevent accidents.
2.1 General Safety Instructions
Always read and follow the manual carefully. Keep loose clothing, long hair, and jewelry away from moving parts. Ensure children are supervised and avoid sewing when tired. Maintain a clean workspace to prevent accidents. Unplug the machine when not in use or during maintenance. Never touch sharp components like needles or cutters with bare hands. Use the correct presser feet for your fabric type to ensure safe operation.
2.2 Electrical Safety Tips
Always use the sewing machine near a grounded electrical outlet. Avoid exposing the machine to water or moisture, as this can cause electrical shocks. Never touch electrical components with wet hands. Use the correct power cord and avoid overloading circuits. Unplug the machine during storms or when not in use. Regularly inspect cords for damage and replace them if necessary to prevent fire hazards.
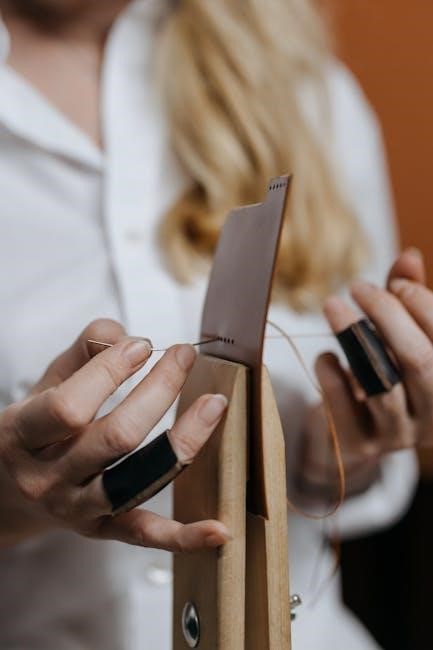
2.3 Handling Sharp Objects and Needles
Always handle sharp objects like needles, pins, and scissors with care. Use a needle inserter to avoid finger pricks. Store needles in a protective case when not in use. Keep sharp objects out of children’s reach. Wear protective gloves or use a thimble to prevent injuries. Regularly inspect needles for damage and replace them if bent or dull. Use a needle threader to minimize direct contact with sharp points.
Locating and Identifying Parts of the Machine
Identify key components like the spool pin, bobbin case, stitch selector, and presser foot. Familiarize yourself with the machine’s exterior and interior mechanisms for smooth operation.
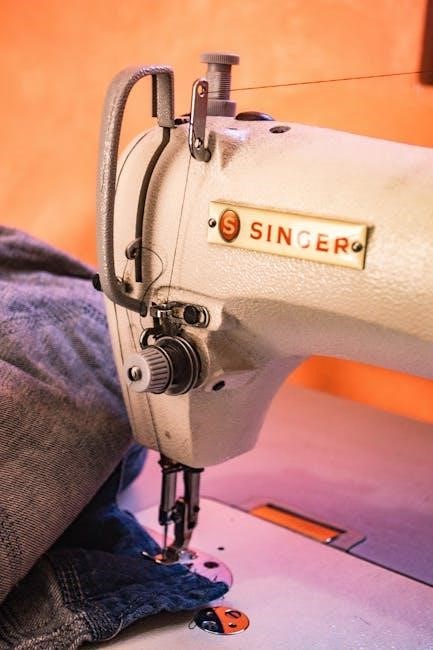
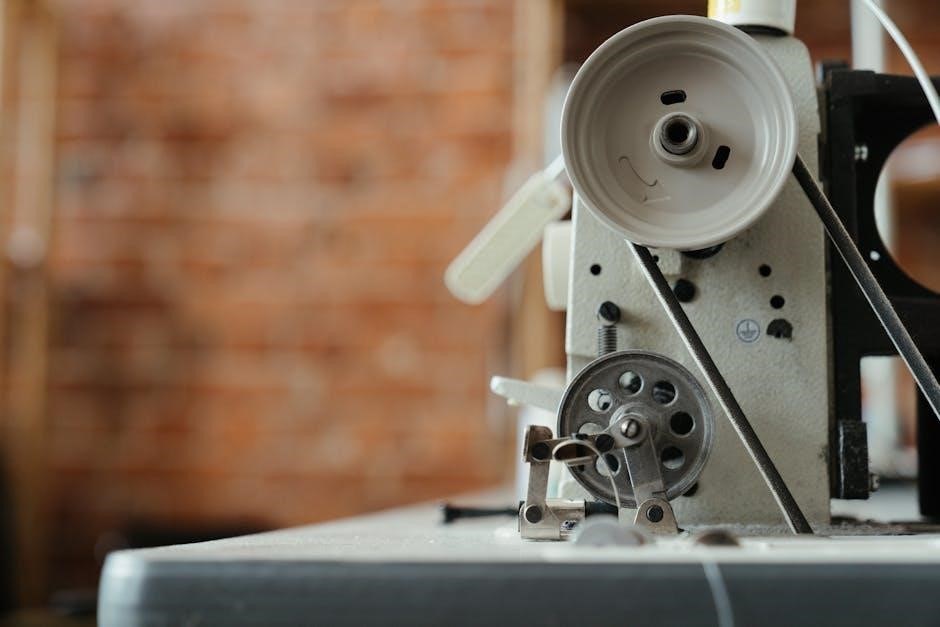
3.1 Exterior Components
The Kenmore 385 sewing machine features several exterior components essential for operation. The spool pin holds the thread, while the stitch selector allows choosing patterns. The presser foot lever controls fabric movement, and the balance wheel manual turns the machine. The handwheel is used for manual stitching, and the power switch activates the motor. The take-up lever adjusts thread tension, and the reverse stitch lever enables backward sewing. Familiarizing yourself with these parts ensures efficient use.
3.2 Interior Mechanisms
The interior mechanisms of the Kenmore 385 include the bobbin case, feed dogs, and shuttle hook. The bobbin case holds the bobbin thread, while the feed dogs move fabric smoothly under the needle. The shuttle hook loops the thread around the bobbin, creating stitches. These internal parts work together to ensure proper stitching. Keeping them clean and well-lubricated is essential for optimal performance and longevity of the machine.
3.3 Accessories Included
The Kenmore 385 sewing machine comes with essential accessories to enhance your sewing experience. These include multiple presser feet for various tasks, such as zigzag, buttonhole, and blind hem. Additional accessories like bobbins, needles, and a screwdriver are also provided. A carrying case may be included for easy storage and transport. These accessories ensure versatility and convenience, allowing you to tackle a wide range of sewing projects with ease and precision.
Threading the Kenmore 385 Sewing Machine
Proper threading is crucial for smooth operation. The process involves correctly guiding both upper and bobbin threads through specific machine parts. Follow the manual’s step-by-step guide to ensure accurate threading, avoiding common mistakes that could lead to poor stitch quality or machine malfunction. Proper tension and alignment are key for consistent results.
4.1 Upper Thread Setup
Start by placing the thread spool on the spool pin. Gently pull the thread through the tension discs, ensuring it’s seated properly. Guide the thread through the take-up lever and then insert it into the needle’s eye from front to back. Keep the thread taut but not overly tight. Refer to the manual’s diagrams for precise guidance. Proper upper thread setup ensures even tension and smooth stitching.
4.2 Bobbin Thread Installation
To install the bobbin thread, place the bobbin on the winder and pull the thread through the tension slot. Wind the thread around the bobbin, then cut the excess. Insert the bobbin into the bobbin case, ensuring it’s seated correctly. Pull the thread gently to ensure proper tension. Always refer to the manual for specific bobbin installation steps to prevent threading issues and ensure smooth operation.
4.3 Common Threading Mistakes to Avoid
- Not cutting excess thread: Leaving too much thread can cause tangles and uneven stitching.
- Improper bobbin seating: Ensure the bobbin is correctly placed to avoid thread feeding issues.
- Ignoring tension adjustment: Proper tension is crucial for consistent stitches; neglecting this can lead to poor results.
Avoid these mistakes to ensure smooth operation and professional-looking stitches.

Adjusting Tensions
Proper tension adjustment is crucial for balanced stitching and smooth machine performance. Learn to fine-tune upper and bobbin tensions for optimal results.
5.1 Understanding Thread Tension
Understanding thread tension is essential for achieving consistent stitching on the Kenmore 385 sewing machine. Proper tension ensures that the thread is neither too tight nor too loose, preventing issues like puckering or loose stitches. The upper tension, adjusted via a dial, and the bobbin tension, located inside the machine, must be balanced for optimal results. Testing on scrap fabric helps determine if adjustments are needed.
5.2 Adjusting the Upper Tension
To adjust the upper tension on the Kenmore 385, locate the tension dial on the machine’s front. Turn the dial clockwise to tighten the thread or counterclockwise to loosen it. Always test the tension by sewing on scrap fabric to ensure even stitching. If the thread is too tight, it may cause fabric puckering, while loose thread can result in uneven stitches. Proper adjustment ensures balanced stitching and prevents thread breakage during operation;
5.3 Adjusting the Bobbin Tension
To adjust the bobbin tension on the Kenmore 385, gently remove the bobbin case from the machine. Locate the small tension screw on the case. Using a small screwdriver, turn the screw clockwise to tighten or counterclockwise to loosen the tension. Reinsert the bobbin and test the stitches on scrap fabric to ensure even tension. Proper adjustment prevents uneven stitching or thread breakage. Always refer to the manual for specific screwdriver size recommendations.
Maintenance and Cleaning
Regular maintenance ensures optimal performance. Clean the machine after use, removing lint and debris. Oil internal mechanisms as recommended to prevent friction. Store in a dry, protected area.
6.1 Regular Cleaning Routine
Regular cleaning is essential for maintaining the Kenmore 385 sewing machine. Turn off and unplug the machine before cleaning. Use a small brush to remove lint and debris from the bobbin area, feed dogs, and stitch plate. Wipe down the exterior with a soft, dry cloth. Avoid using liquids or compressed air, as they may damage internal components. Focus on areas around the take-up lever and presser foot. Clean after each use to ensure smooth operation.
6.2 Oiling the Machine
To maintain the Kenmore 385 sewing machine, regular oiling is necessary. Locate the oil ports, typically near the bobbin area or handwheel. Use sewing machine oil, applying a few drops to the designated spots. Allow the oil to settle for a few minutes. Gently wipe excess with a clean cloth. Avoid using aerosol or silicone sprays, as they can damage components. Oil every 10 hours of use or monthly to keep parts running smoothly.
6.3 Storing the Machine Properly
To store the Kenmore 385 sewing machine, first clean it thoroughly with a soft cloth to remove dust and debris. Cover the machine with a dust cover or plastic bag to protect it from dust. Store in a dry, cool place away from direct sunlight. Disconnect the power cord and foot control for safety. Avoid storing in humid or extreme-temperature environments. For added protection, place the machine in its original case or a sturdy protective box if available.
Troubleshooting Common Issues
Identify the issue, check for common causes, and apply solutions. Refer to the troubleshooting guide in the manual for specific error resolutions and maintenance tips.
7.1 Thread Breakage Problems
Thread breakage often occurs due to improper threading, incorrect tension, or using low-quality thread. Check if the thread is correctly seated in the tension discs and take-up lever. Ensure the bobbin is threaded properly and the upper thread is not tangled. Adjusting the tension settings may resolve the issue. Using high-quality thread and maintaining consistent fabric speed can also prevent breakage. Regularly clean lint from the tension areas to ensure smooth operation.
7.2 Machine Noise or Vibration
Excessive noise or vibration may indicate improper machine setup or maintenance issues. Ensure the sewing machine is placed on a stable, flat surface and the bobbin is correctly installed. Check for loose screws, as they can cause rattling. Regularly clean dust and lint from internal mechanisms and apply oil as recommended. Misaligned or worn-out parts, such as the needle or presser foot, can also contribute to noise. Addressing these factors will restore smooth operation.
7.3 Bobbin-Related Issues
Bobbin issues often arise from improper installation or incorrect tension. Ensure the bobbin is seated correctly in the bobbin case and the thread is drawn through the tension spring properly. If the bobbin tension is too tight or too loose, adjust the small screw on the bobbin case. A damaged or warped bobbin can also cause problems, so replace it if necessary. Always use the correct type of bobbin for your Kenmore 385 model.

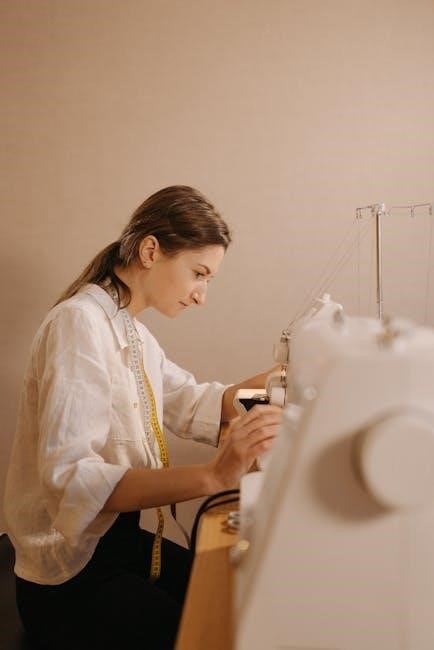
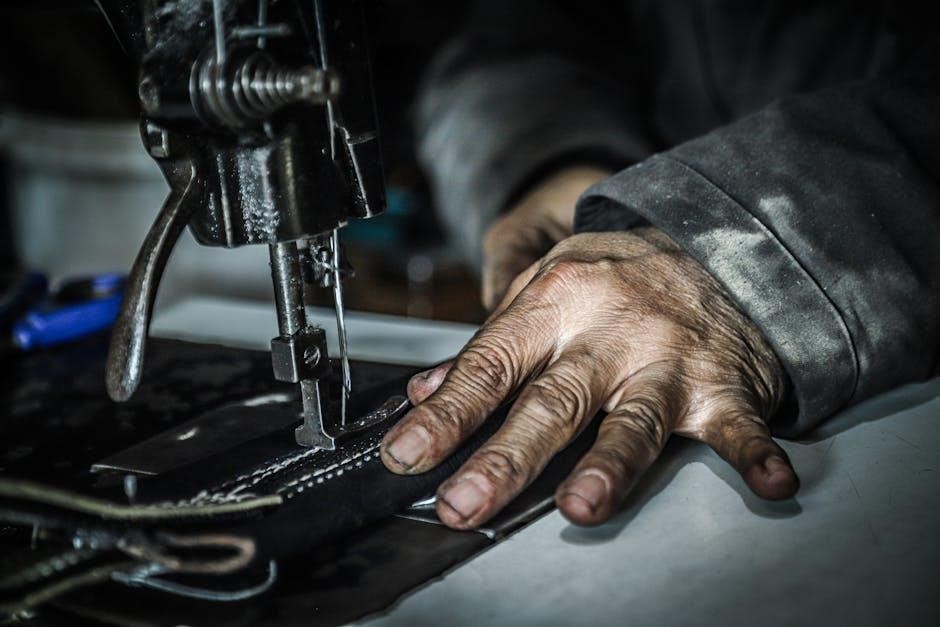
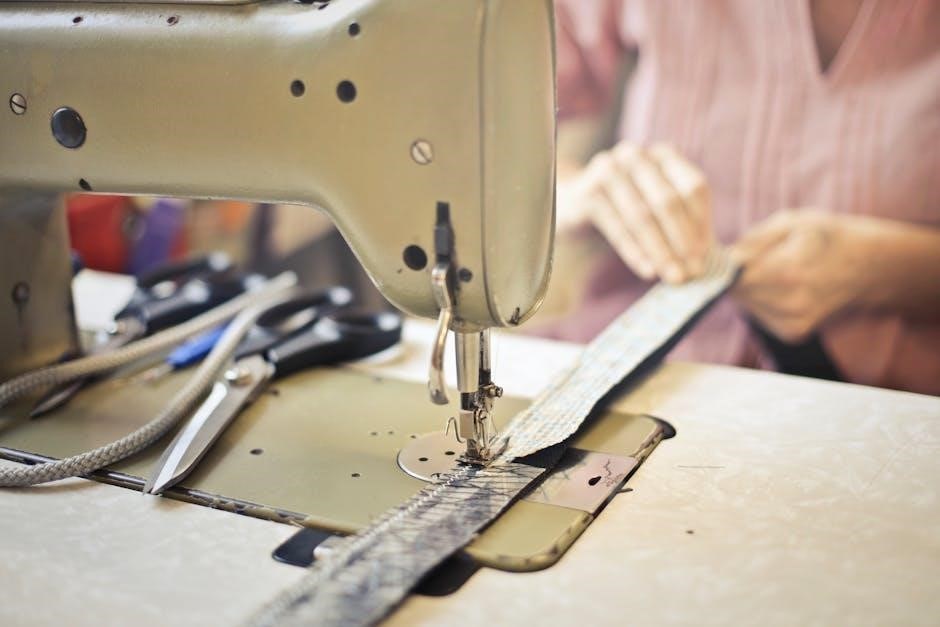
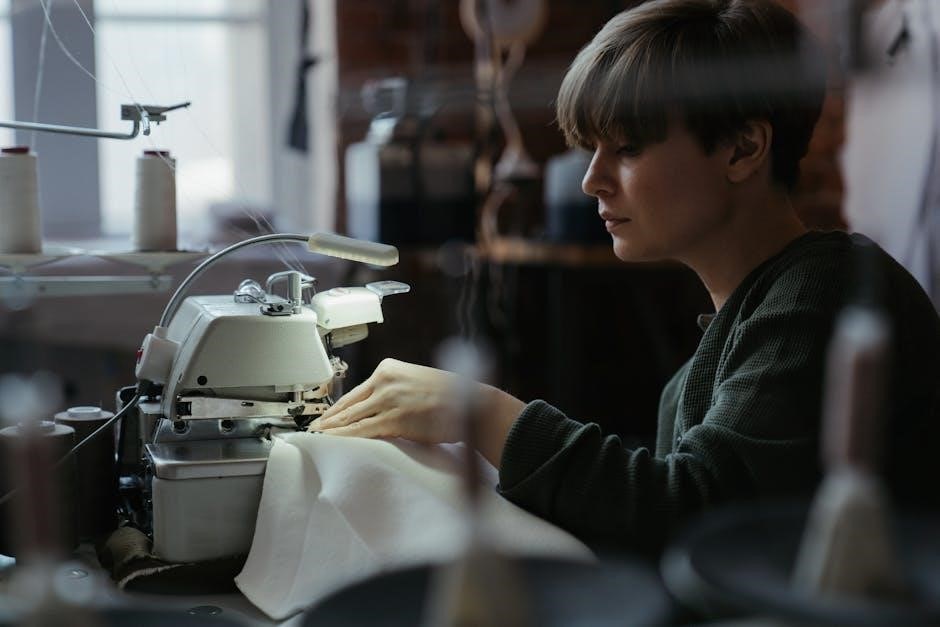
Operating the Kenmore 385 Sewing Machine
Start by turning on the machine and selecting the desired stitch type. Guide fabric smoothly under the presser foot, maintaining steady control for even stitching. Always backstitch at the beginning and end of your seam for secure results.
8.1 Starting Your First Project
Begin by ensuring the machine is properly threaded and the bobbin is installed. Place your fabric under the presser foot, aligning the edge with the guide. Select a basic straight stitch for simplicity. Slowly lower the presser foot and start sewing at a steady pace. Practice on scrap fabric first to ensure even stitching. Always backstitch at the start and end for secure seams. Keep the fabric moving smoothly to maintain consistent results.
8.2 Sewing on Different Fabric Types
Adjust the Kenmore 385 for various fabrics by selecting the appropriate stitch type and length. For delicate fabrics like silk, use a sharp needle and reduce tension. Heavy fabrics such as denim may require a heavier-duty needle and increased stitch length. Always test settings on scrap fabric to ensure proper results. Use a walking foot or Teflon foot for smooth handling of thick or slippery materials. This ensures even stitching across all fabric types.
8.3 Using Different Stitch Patterns
The Kenmore 385 offers various stitch patterns for versatility in sewing. Select from straight, zigzag, and decorative stitches by turning the stitch selector dial. Adjust stitch length and width using the respective dials for customized results. Use the straight stitch for basic sewing, zigzag for elastic fabrics, and decorative stitches for embellishments. Always test stitches on scrap fabric before sewing your final project to ensure desired outcomes.
Accessories and Attachments
The Kenmore 385 comes with essential accessories like presser feet, bobbins, and needles. Additional attachments, such as zipper feet or quilting guides, enhance sewing capabilities and versatility for various projects.
9.1 Presser Feet Options
The Kenmore 385 offers various presser feet, including Zigzag, Blind Hem, and Zipper Feet. Each foot is designed for specific tasks, ensuring precision and versatility. The Zigzag foot is ideal for decorative stitching, while the Blind Hem foot is perfect for invisible hems. The Zipper foot allows for close sewing near zippers. These interchangeable feet enable seamless transitions between projects, enhancing your sewing experience effortlessly.
9.2 Additional Accessories
The Kenmore 385 sewing machine comes with several additional accessories to enhance your sewing experience. These include extra bobbins, replacement needles, and a seam ripper for correcting mistakes. A measuring tape and threader are also provided for convenience. These accessories are designed to help you maintain and organize your machine while tackling various projects efficiently. They complement the presser feet and ensure a smooth, hassle-free sewing process every time.
9.3 Optional Attachments
The Kenmore 385 sewing machine supports various optional attachments to expand its functionality. These include specialized presser feet for tasks like quilting, embroidery, or heavy-duty sewing. Additional attachments such as walking feet or Teflon feet can be purchased separately to handle specific fabrics or techniques. An embroidery hoop or quilting guide can also be added to enhance precision and creativity. These attachments are available through authorized dealers or online retailers, allowing you to customize your machine for advanced projects.
Error Messages and Solutions
The Kenmore 385 sewing machine displays error messages to indicate issues like thread jams or sensor malfunctions. Always refer to the manual for specific solutions to resolve these errors efficiently.
10.1 Understanding Error Codes
The Kenmore 385 sewing machine uses specific error codes to signal issues such as thread jams, sensor malfunctions, or mechanical problems. Each code corresponds to a unique problem, detailed in the manual. Common errors include “E1” for thread jams or “E3” for sensor issues; Understanding these codes helps users identify and address problems quickly. Always refer to the manual for accurate code interpretation and solutions to ensure proper machine function and maintenance.
10.2 Resolving Common Errors
To resolve common errors on the Kenmore 385, first power off and unplug the machine. Check for thread jams, tangled bobbins, or misaligned needles. Clear any obstructions and rethread the machine following the manual’s guidance. Adjust stitch settings if necessary. If issues persist, consult the troubleshooting section or reset the machine. Regular maintenance and proper usage can prevent many errors, ensuring smooth operation. Always refer to the manual for specific solutions.
10.3 Resetting the Machine
To reset the Kenmore 385, turn it off and unplug it for 10 minutes to discharge power. Locate the reset button, typically near the bobbin area or control panel. Press and hold it for 5 seconds while plugging it back in. This restores default settings, resolving many software-related issues. After resetting, rethread the machine and test stitching on scrap fabric. Regular resets can maintain optimal performance and prevent operational glitches.
Upgrading and Customizing the Machine
Explore upgrading and customizing the Kenmore 385 to enhance functionality. Install advanced features, update software, or add specialized parts for improved performance and personalized sewing experiences.
11.1 Upgrading Parts
Upgrading parts on the Kenmore 385 can enhance performance and functionality. Consider replacing or adding components like advanced stitch regulators, upgraded motors, or specialized presser feet. Always ensure compatibility with your machine model to maintain optimal operation. Before upgrading, consult the manual or contact customer support to verify part specifications and installation requirements. Proper upgrades can extend the machine’s lifespan and improve sewing precision.
11.2 Customizing Settings
Customizing settings on the Kenmore 385 allows you to tailor the machine to your sewing needs. Adjust stitch length, width, and tension to suit different fabrics and projects. You can also customize presser foot pressure and needle position for specific tasks; Use the control panel to save preferred settings or create custom stitch patterns. Always refer to the manual for guidance on optimizing these adjustments for enhanced sewing precision and adaptability.
11.3 Adding New Features
The Kenmore 385 allows for optional attachments to expand its functionality. You can add specialized presser feet, such as a walking foot or quilting foot, for specific tasks. Additionally, stitch pattern cards or embroidery attachments can be purchased separately to enhance creativity. Always ensure compatibility and follow manual instructions when installing new features to maintain optimal performance and warranty validity.
Resources and Support
The Kenmore 385 manual provides access to comprehensive guides, troubleshooting tips, and expert advice, ensuring optimal use and maintenance of your sewing machine.
12.1 Accessing the Full Manual
The full manual for the Kenmore 385 sewing machine is available as a downloadable PDF on the official Kenmore website. Users can visit the support section, enter their model number, and download the manual for free. It provides detailed instructions, diagrams, and troubleshooting guides. Additionally, authorized Kenmore dealers and retailers may offer printed copies or digital versions upon request. Ensure you access the manual from trusted sources to avoid misinformation.
12.2 Online Communities and Forums
Joining online communities and forums dedicated to sewing enthusiasts is an excellent way to connect with other Kenmore 385 users. Websites like Sewing Parts Online and sewing forums on Quora or Facebook groups offer valuable discussions, tips, and troubleshooting advice. These platforms allow users to share experiences, ask questions, and learn from experts. Engaging with these communities can enhance your sewing skills and provide solutions to specific challenges you may encounter with your machine.
12.3 Contacting Customer Support
For assistance with your Kenmore 385 sewing machine, contact customer support through the official Kenmore website or by phone. Have your model number and serial number ready for quick service. Support representatives can help with troubleshooting, repair requests, or questions about accessories. Additionally, many retailers offer dedicated support for Kenmore products, ensuring timely resolution to any issues you may encounter while operating your machine.
Mastering the Kenmore 385 sewing machine empowers you to unlock your creativity and tackle various sewing projects with confidence. By following the guidelines, maintaining regular upkeep, and utilizing customer support when needed, you can extend the life of your machine. Keep experimenting with different fabrics, stitches, and techniques to enhance your sewing skills. Refer to this manual whenever needed, and enjoy the satisfaction of creating something truly unique with your Kenmore 385.